Before the file can be exported and labels created, you will need to select an appropriate template for the labels to be based on.
You will need to create the label from scratch using the templates within Avery, or you can create a custom label size from the manufacturer’s details.
Open Avery Design Pro.
When running Avery Design Pro, ensure that you run the program as Administrator in order to enable the program to have access to the System Data Source during the ODBC setup (further below).
The program can be run as Administrator by simply right-clicking on the Avery Design Pro shortcut and selecting "Run as Administrator".
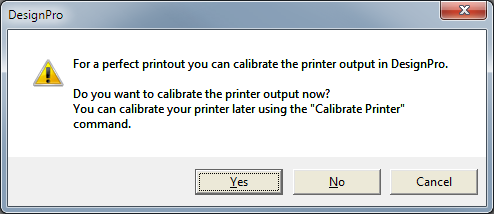
If this is the first time you have run the program, you will be asked if you want to calibrate the printers.
This is not necessary when configuring the format file, but it is recommended before you attempt to print actual labels.
Select to “Create a Project from Scratch”.

Select the Template you want to use, or create a custom size based on the labels you have purchased.
You will need to print out multiple test pages to check the calibration and alignment is correct.
For this purpose, just use plain A4 paper and hold it up to the light with a label page overlaid.
This will save you printing to labels that will be rubbish only.

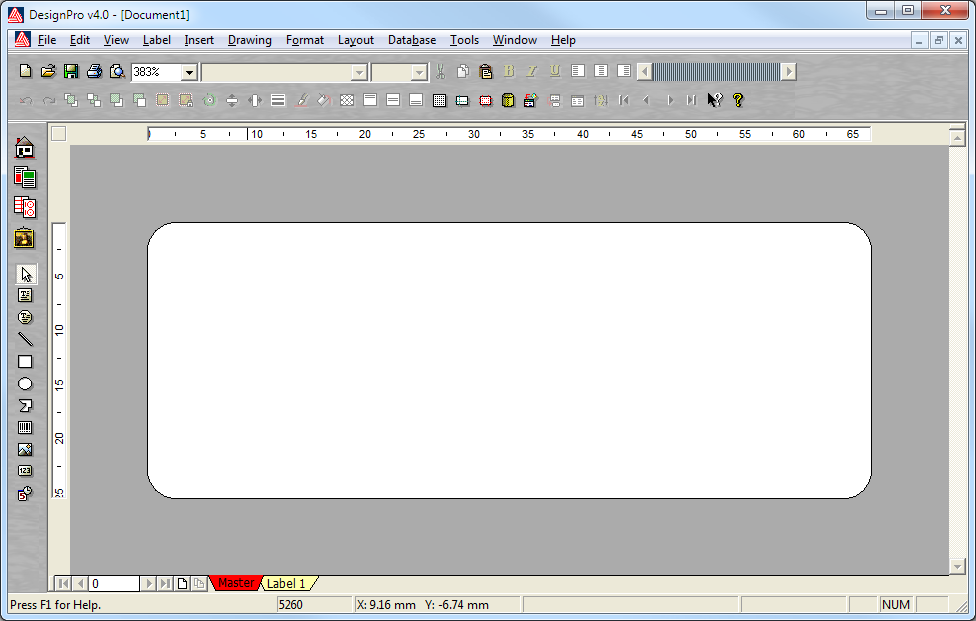
Avery Design Pro will open a template label design.
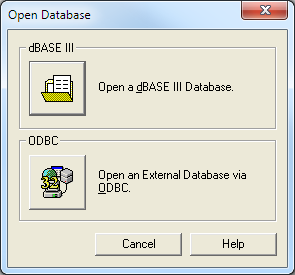
Go to Database > Open.

Select to “Open an External Database via ODBC”.
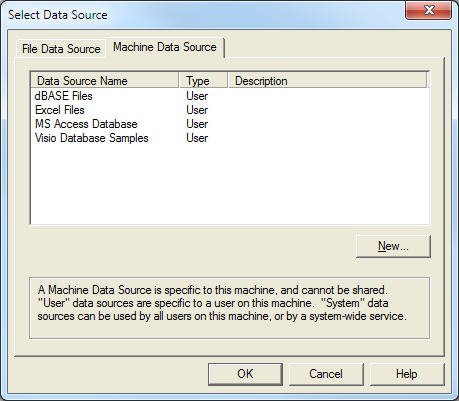
Go to the Machine Data Source tab and press New.
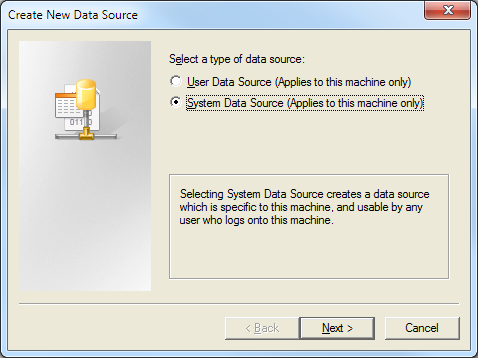
Select System Data Source and press ‘Next’.
Note that if the System Data Source option is greyed out or unavailable, the program does not have Administrative access to create the System Data Source.
Close Avery Design Pro and run the program as Administrator (right-click on the shortcut and select "Run as Administrator").
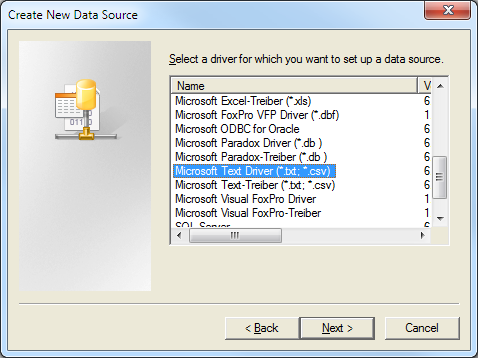
Select the Microsoft Text Driver from the list and press ‘Next’.
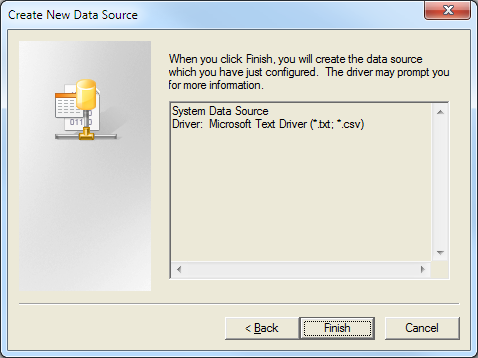
Confirm the details you have selected by pressing Finish.
Enter the name of the file that you created earlier for the Data Source Name and give it a Description.
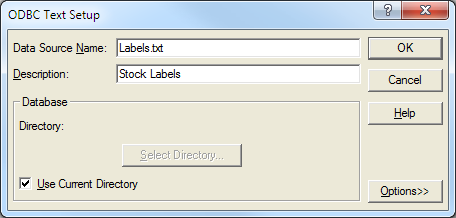
Untick the option to “Use Current Directory” and select the folder where the Labels.txt file is located.
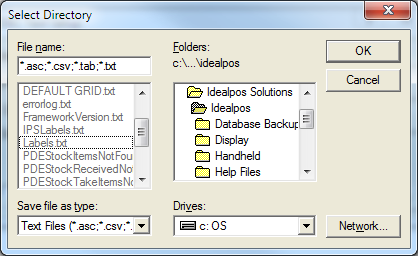
The below example shows the directory location of C:\ProgramData\Idealpos Solutions\Idealpos\
Note that the above folder (C:\ProgramData\Idealpos Solutions\Idealpos\) may not be accessible via the below Select Directory window.
In order to navigate or browse to the folder, please try copying the folder path, then paste it into the File name field of the Select Directory dialogue box.
You may need to press OK, then press the "Select Directory" button again in order to set the folder path in the Select Directory window.
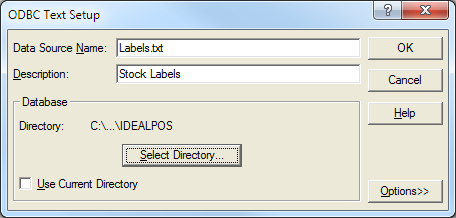
Press OK to save the changes.
Select the “Data Source Name” you entered and click OK.
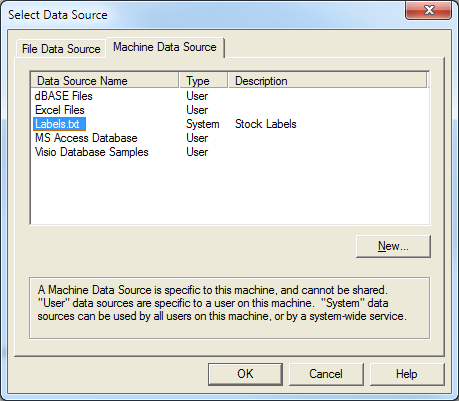
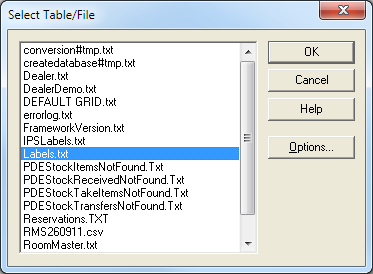
If prompted, you will need to select your data file from the list (labels.txt) and click OK.
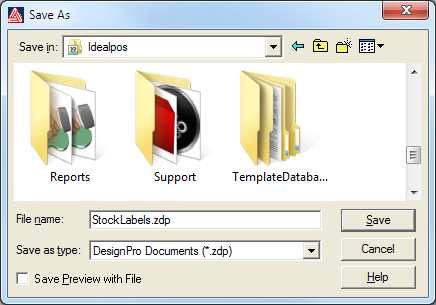
In Avery Design Pro go to File > Save. Save the document in the Idealpos directory.
The Idealpos directory is typically located in either of the two locations, depending on which architecture of Windows being used.
64 BIT versions of Windows - C:\Program Files (x86)\Idealpos Solutions\Idealpos\
32 BIT versions of Windows - C:\Program Files\Idealpos Solutions\Idealpos\